 armchair dot tech
I am planning a new amateur radio go-kit. I’ve made a number of these over the years. I have a lot of fun making them, and then I get a new radio or come up with a “better” idea. So just like someone on their 4th marriage, I’m getting really good at making go kits. This go kit is a slightly different take. In fact, it’s actually a power box.
There will a power supply, a 20Ah LifePo4 battery, an inverter, usb outlets, and a number of 12v outlets. The idea is that this will run off of mains current, internal battery, and solar. The top will be flat, allowing a radio to be strapped down to the powerbox. If I can find room, I will probably try to include a 12v to 19v laptop charger, targetting my Lenovo x220.
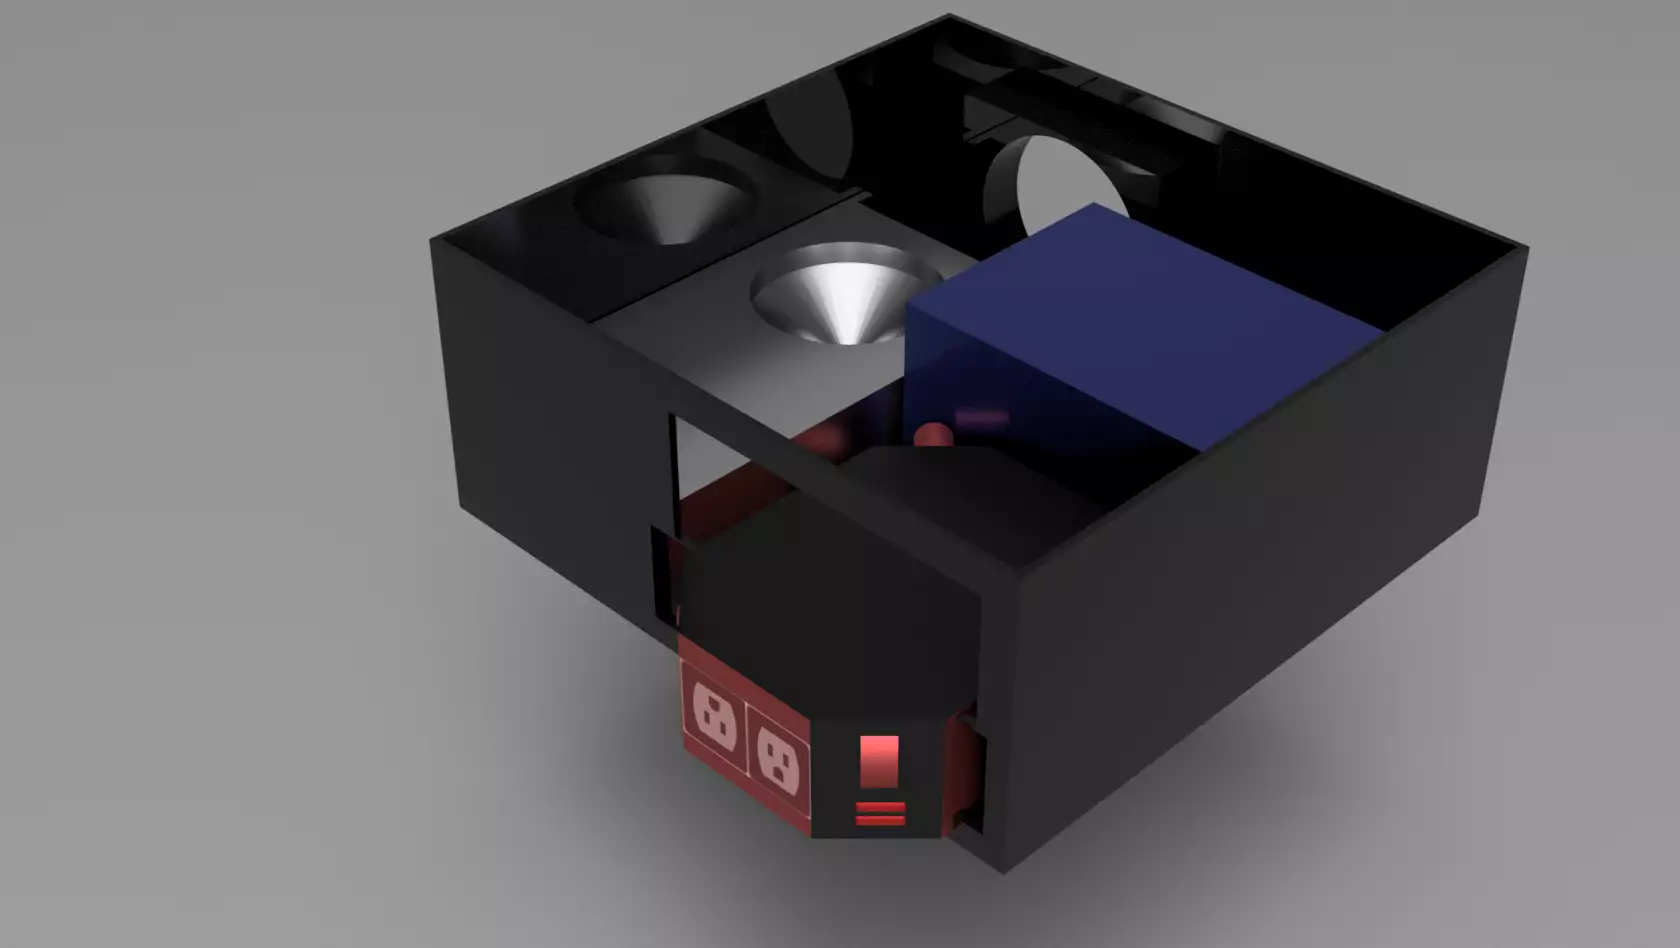
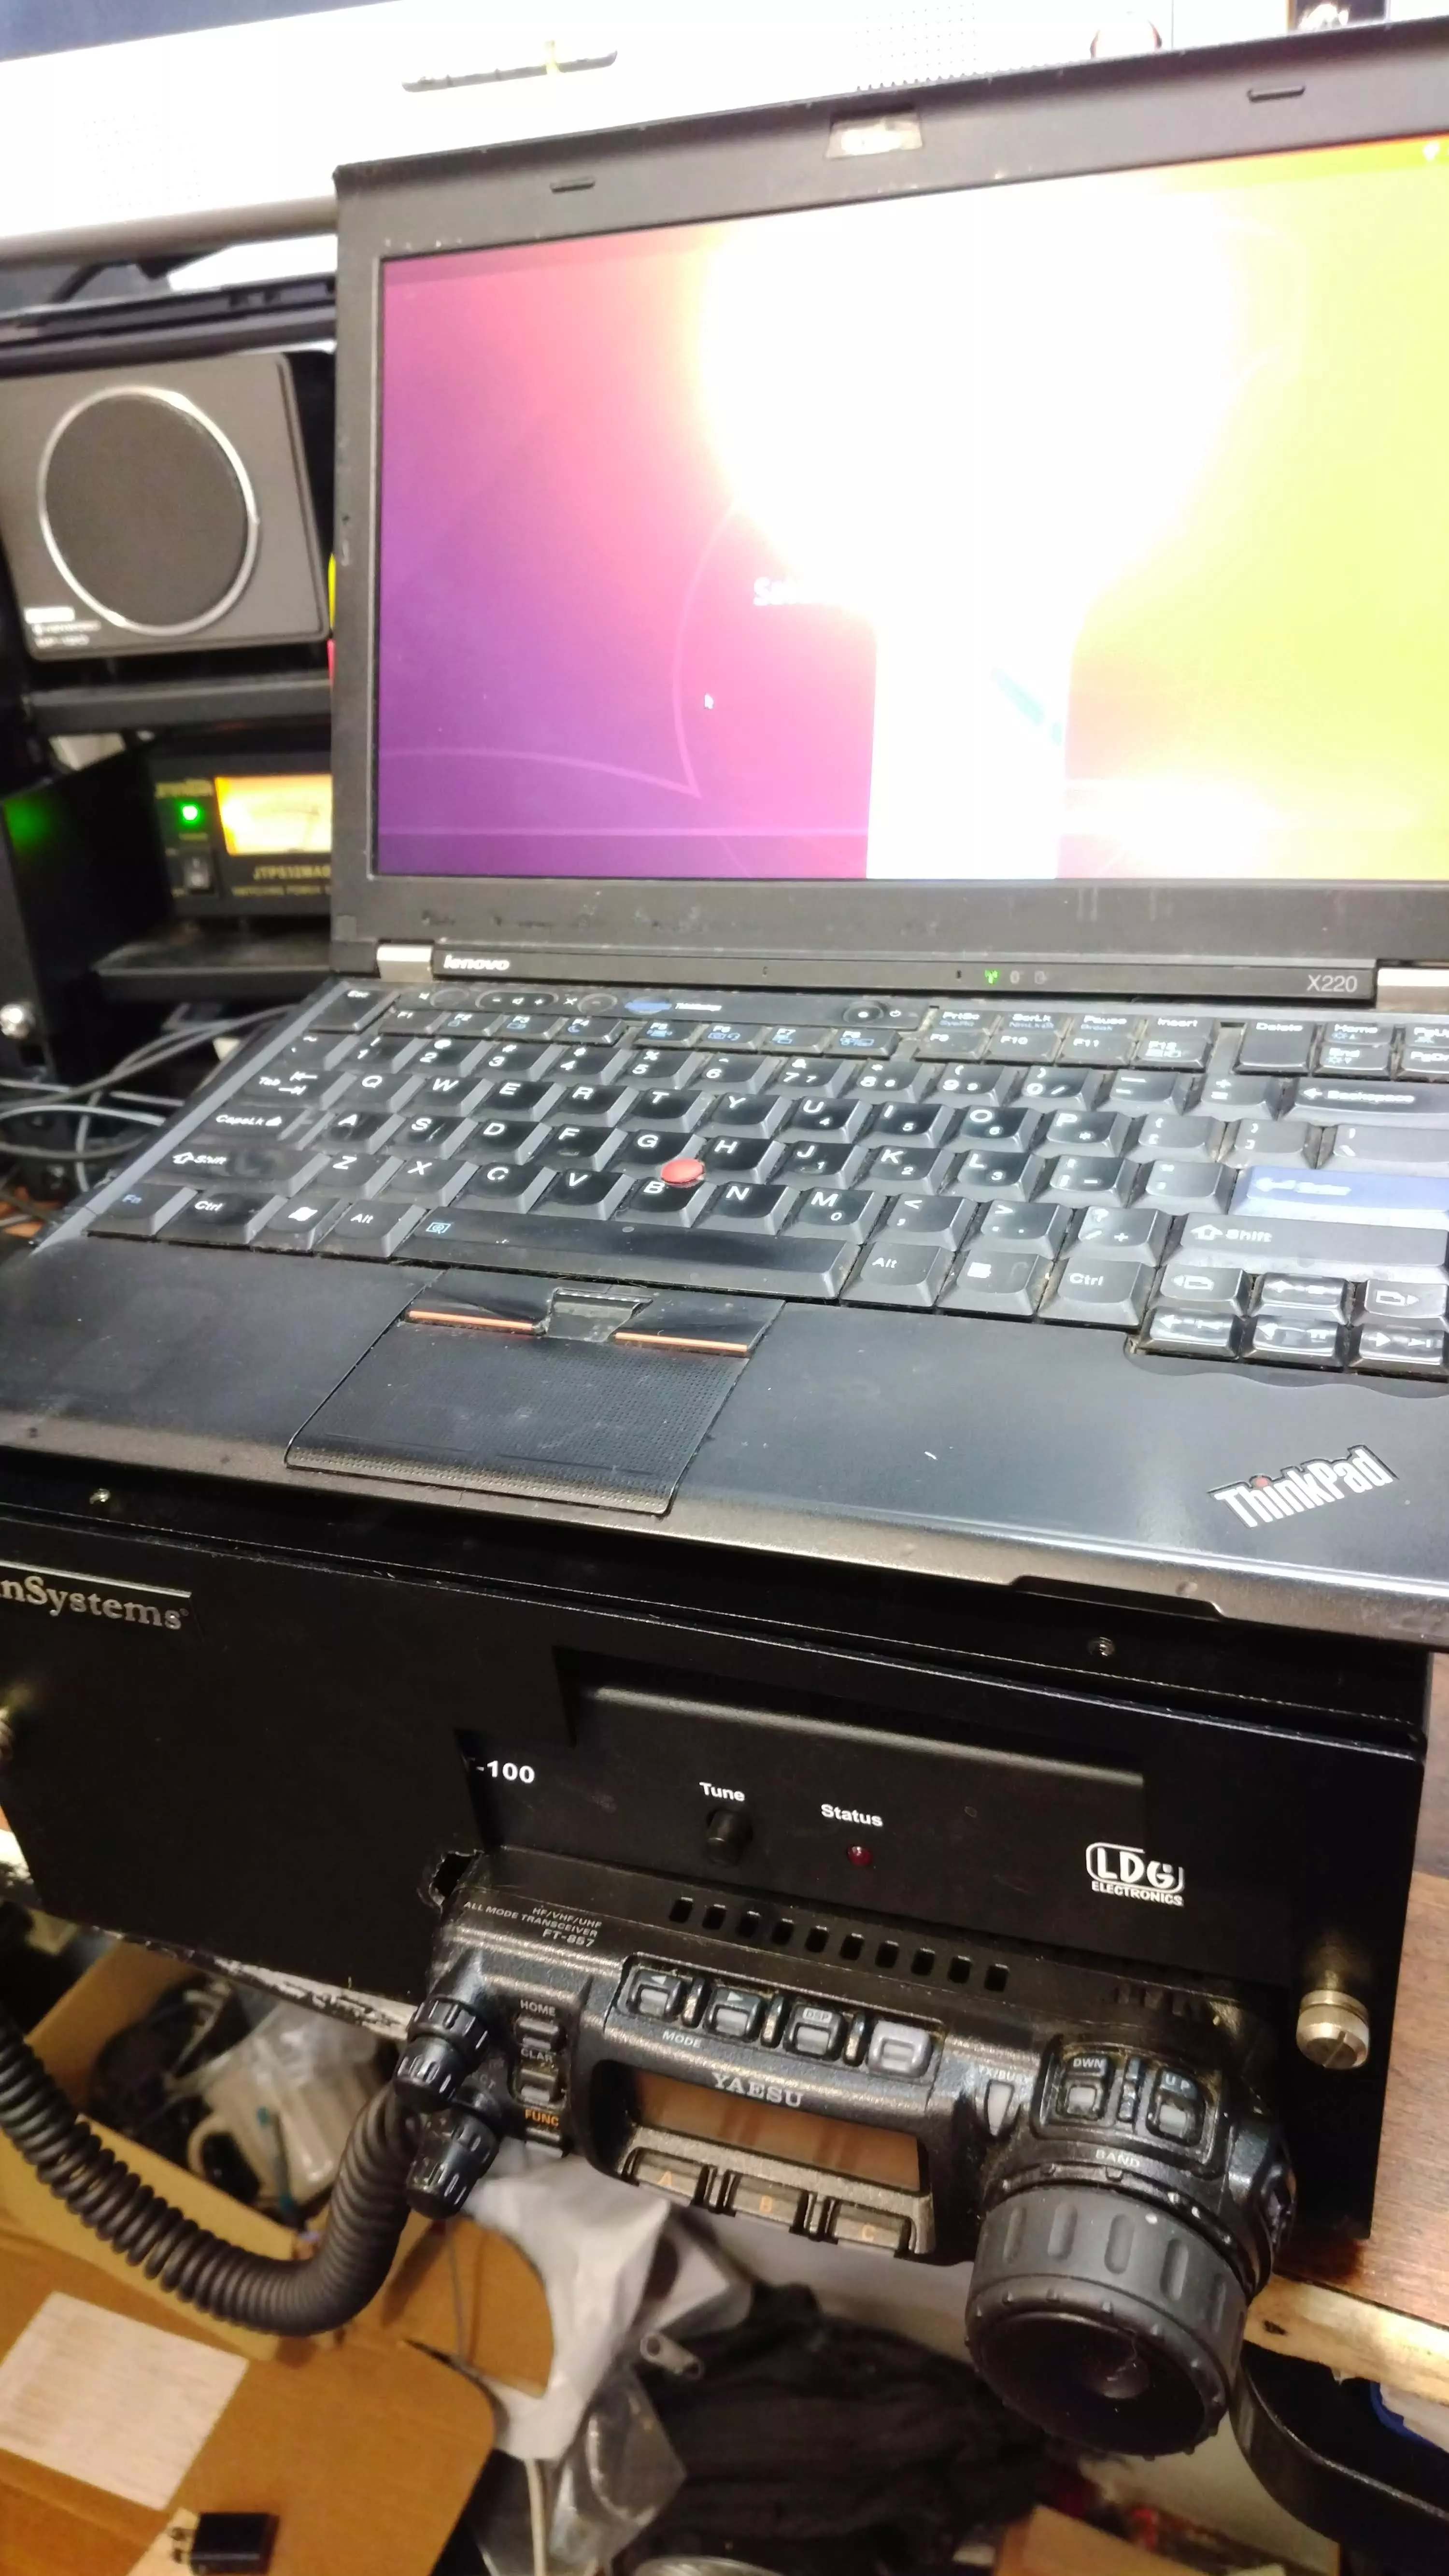
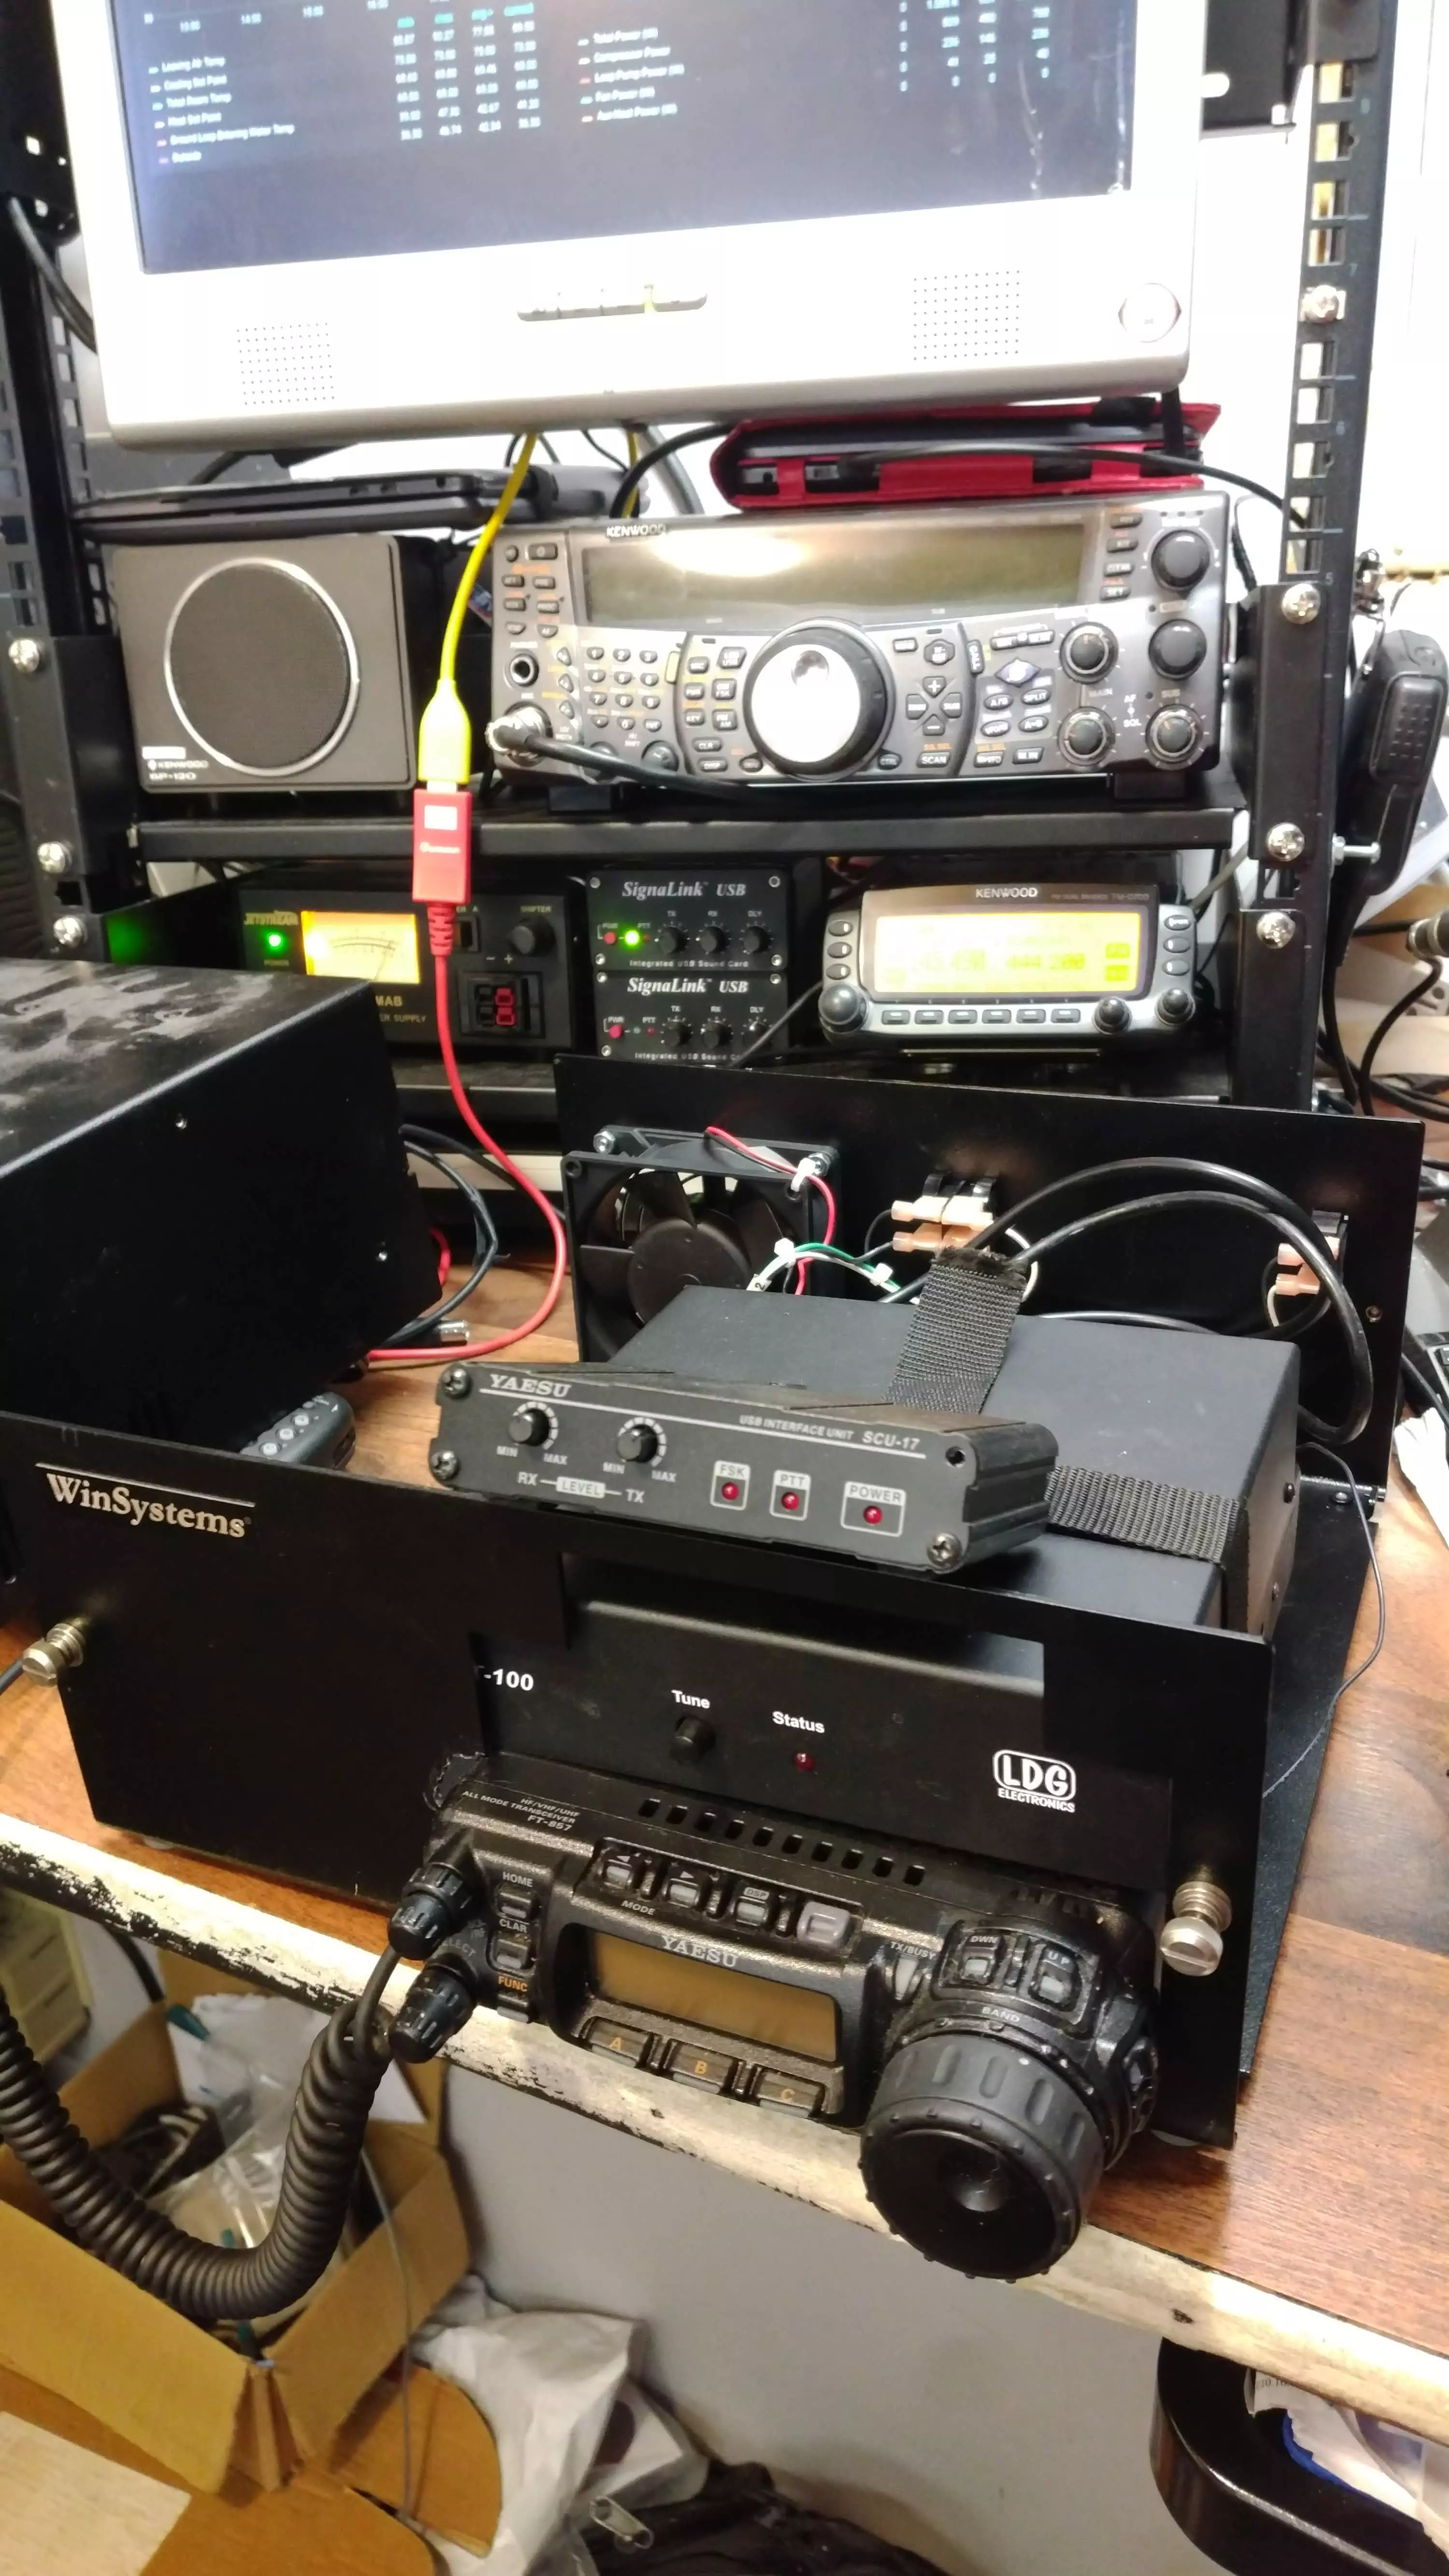
This started when a friend gave me a computer case which measures 11" x 11.75", give or take 1/8 inch. I first tried putting my Yaesu 857 inside it. I wanted to put the radio, a power supply, a tuner, and the SCU-17 soundcard interface, and then be able to set a laptop on the top. This did not work out. The radio and tuner fit in, but not the soundcard interface. I could have put a power supply in, but unless I can put “all the things” in one box, I don’t want to deal with it. I just wanted some ports for the antenna and a usb cable to come out of it. Then I could connect the whole thing to either house or car power.
This highlights the most common problem building go-kits. You often run out of space. This time around, I decided to go ahead and try my hand at 3D modeling. I will draw out the case and everything I plan to put in it, then see if it fits. I’ll use Fusion 360. It’s free for educational and hobbyists (and companies that make less than $100k in revenues). You absolutely need a mouse with a middle button to use it effectively. I couldn’t figure any of it out till I watched this tutorial for absolute beginners.
I ended up working on this for about 5 hours last night. Started around 7pm and went to bed a quarter till midnight. It gets a bit addicting.
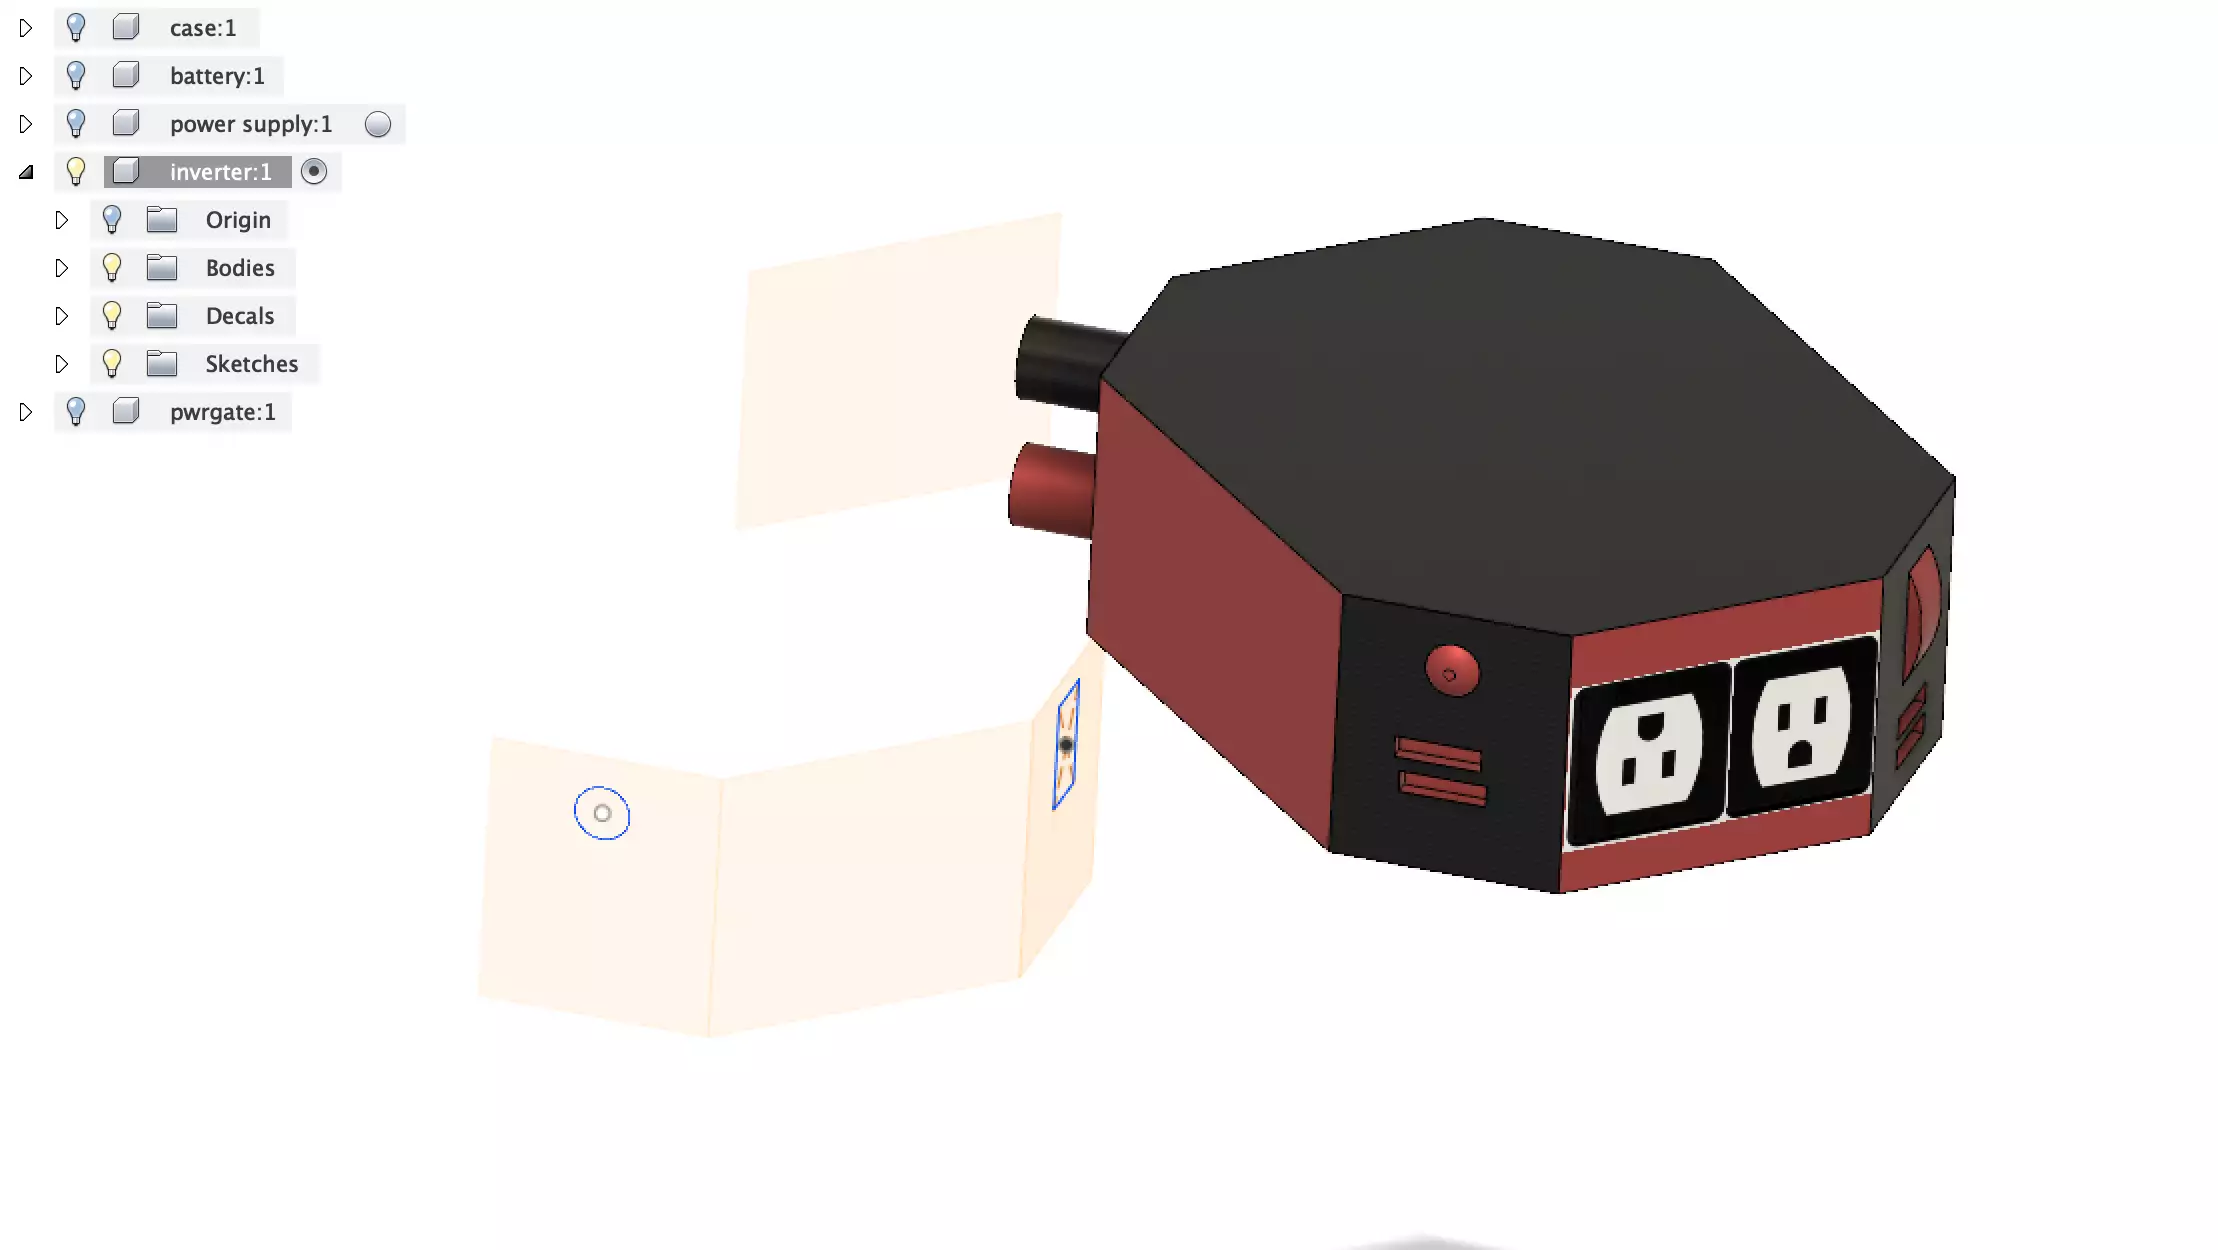
I made each component (case, battery, inverter, and power supply) separately.
- Case: 11x11 computer case mentioned above
- Battery: Bieono 12V 20AH LifePo4 BLF-1220AS
- Power Supply: MegaWatt 30 AMP S-350-12
- Solar Charger West Mountain Radio Epic PWRgate
If you want to see the build modeling process, check out the following video. If you want to learn more about what I learned while doing that, read on after the video.
They’re all boxes. The size of the boxes is exact, you can specify the size at creation. However a lot of the features (like the power supply fan) are just places approximately. Once you make a box, you can do things like select a face and make an offset to account for the thickness of the wall, then a ‘push-pull’ to hollow out the box. That’s the case. You can put holes in boxes - did that to represent fans on the power supply and case. The most “fun' was the inverter, where I chamfered the corners, put decals on for outlets, and cylinders on the back to represent the wire terminals
Getting the components into the case was a bit tricky. There are ways you can move “to object” and select the plane you’re moving on and the distance from an object’s face. But I did a bunch of free movement. You can just drag them around with the mouse. Then you rotate your view and realize your power supply is poking through the bottom of the case and the battery is floating 8 feet above it. Then you can select the component again, press M to move, and move it along a plane. I just kept moving them around until they look lined up with the bottom of the case, and I have a buffer space between each component and the walls of the case. I did this instead of “attaching” them to the case because I ended up moving the battery and power supply around a dozen times, finally rotating the battery so I had space to slide an inverter in.
Once I got the power supply and battery in, I went shopping for an inverter. I needed something small, and was looking for 300W or better. I had maybe 6” to work with, but I could have this poke out of the front if need be. I also wanted a switch on the front. USB ports wouldn’t hurt either. I finally settled on a Besttek 400W.
It’s both easy and not easy. It’s super easy to make a box. And for what is effectively my first real attempt at using it (I played with the tutorial around Christmas, but forgot everything), I’m impressed with what I was able to do. But then to put a hole in it or hollow it out, you can find it doing unexpected things. Once I had the case hollowed out and at some point while moving components around into it and trying the route of making the case the parent of them, the top of the case mysteriously returned as an invisible selectable item. I couldn’t select anything inside the case because the lid was in the way. I could hide the case, but then I can’t see where the case is to align the other stuff to. I ended up starting a new project and recreating everything (much faster this time).
After I added the decal of the power outlets (it’s two separate pictures), I saw the first one was upside down, and I couldn’t find a way to select it and rotate it. I could only select the second one. I spent some time on this and decided I didn’t care at this point. When I put usb ports on, I just put rectangles on the face, and then push-pulled to recess them a bit. I couldn’t find a way to re-align the first one to match the bottom one.
It’s like you need to get things attached to a face correctly the first time or it becomes hard to change it. You get a lot of options when placing an item, and you can see exactly where you’re placing it, but once you hit enter, you may or may not be able to change it again. Ok, I’m 100% certain you can, but my limited experience is making it difficult.

Last night, I tried adding a solar charger (epic pwrgate), and to start labeling the components by adding text to the faces. Somehow adding text to the battery’s top face didn’t work the first time, so I did it again. After zooming out, I found the first attempt way off in lala-land and I while I was able to move it back, deleting it would fail. Also, I can’t yet figure out how to set the text color, just the font and style.

Also, there are some ghost planes/faces floating around that I encounter sometimes.